Overview
I had planned to hook up Spotify since the early days of building this blog, so here I'll write down what I learned and how I implemented it.
Spotify lets you use a huge amount of data for free. To take advantage of this lovely service, we first need to go through a few steps:
- Register an app on the Spotify developer dashboard
- Authenticate your account
- Hook up the APIs you need
This post assumes you already have a Spotify account. If you haven't tried the service yet, why not give it a shot this time? 🎧
1. Register an app on the Spotify developer dashboard
- First, go to the Spotify dashboard and create an app.
- Fill in the required fields, select Web API, and hit the save button.

- Copy the
Client IDandClient secretyou need for authentication, and keep them somewhere safe.

Now you can authenticate with the Client ID and Client secret, and you're able to generate a refresh token.
2. Authenticate your account
Authentication takes a slightly more involved process.
-
To make the curl request, you need to generate a base64 string. Enter the secret info you were issued (
clientId:clientSecret) into an encoding site. Copy the encoded base64 string and keep it safe too.
-
Now enter a URL containing the API scopes you'll actually use into your browser. I used the scopes below.
- playlist-read-private
- user-top-read
- user-read-recently-played
- user-read-currently-playing
https://accounts.spotify.com/en/authorize?client_id=<clientId>&response_type=code&redirect_uri=http%3A%2F%2Flocalhost:3000%2F&scope=playlist-read-private+user-top-read+user-read-recently-played+user-read-currently-playing -
When you open that URL in the browser, you'll see a screen asking whether you agree to grant access to the scopes you added above. Click the agree button.

-
Once you click agree, you'll be redirected to the redirect URI you entered when registering the app.
http://localhost:3000/?code=AQBIvgEnrnLeiTaDHJrqEw_mfB6pVgRYclLvsLlqIV-9QdOboCiulr_nQbiI8KddxhkoNmhiMQX_sVMPK_bcgaWQT-SraVV2AoneIf2PkbcPrPmTn19Xp7G2uscXZi17hd9G0k6WOYFDfexpiW0-sSLuTH_rvt8AdJ7YgzgQzIQ_Cn4yWvu04MkiJKmbR0AG7YyRtmII-NhXKCBefrdIXipNXwJhjMYGdBsIfsIh9Di1AVKahHHkAn2vVvyXXe8yH2bfMrP78qvASsg7ySYMSN6Mfjy4WKR7 -
Now copy the code after
code=. -
Almost there. Combine the base64 string you encoded earlier with the code you got from the redirect URI, and send a curl request from your terminal.
curl -X POST https://accounts.spotify.com/api/token \ -H "Authorization: Basic NmNkODM1NDBjZDUxNGFlYjljNThjMWMxZTA0MDlmZTg6NDExYzE0MGE1M2M5NDk1ZmE3ZDc4YTNhMTQwM2FmNGY=" \ -H "Content-Type: application/x-www-form-urlencoded" \ -d "grant_type=authorization_code" \ -d "code=AQCpXHPZTrao5cvC4OjOaIlAyB6_RW824IW0BAIukkTMhNgRWM08C9IDcV9zzpWbFgkJl3tO_l5H8M4K-XoaFzhyo9Wz-rXEz419aeadVcyj2DKIc1WLjcTq93vK-YBXg3SBCVGYrBUL-pnBJUM2Y7aHiECh7s6u5s6qPW8Uf-1zd_EXhYgO5ob3vvWVrm96LuLNwn-wCo2Q9lZJmEGkmwSmbzjiXQJ-Y-UZI0z1AnjRdY6qX25wke7y9_J535L20hxb_f1ovtJybz8HTMfp46obUKSVWRcg" \ -d "redirect_uri=http://localhost:3000/" -
If the request succeeded, you'll get a JSON response like this:
JSON Response { "access_token": "BQBaHx06...", "token_type": "Bearer", "expires_in": 3600, "refresh_token": "AQAAwZE2D...", "scope": "playlist-read-private..." }
Copy the refresh_token. This token lets the client app get a new access token without the user having to re-authenticate with the app.
Now you can make API requests using the refresh_token.
Before writing the API function logic, I thought about how to implement the data fetching. There were two options:
- Fetch data on the server using the
fetch API - Fetch data on the client (Tanstack-Query, SWR, useEffect, use ...)
I judged that real-time updates weren't strictly necessary and that this wasn't a case where data is needed after a user interaction, so I decided to fetch the data using the fetch function inside server components.
3. Hook up the APIs you need
After creating environment variables for the sensitive info, find the APIs that match the scopes listed above, then write the functions that make the fetch requests and generate the tokens you need.
getAccessToken
Send a post request to the endpoint that returns tokens, injecting the client ID and client secret you got from the dashboard.
In the body, pass the refresh_token you got from the curl request.
const BASIC_TOKEN = Buffer.from(
  SPOTIFY_CLIENT_ID + ":" + SPOTIFY_CLIENT_SECRET,
).toString("base64");

const body = new URLSearchParams({
  grant_type: "refresh_token",
  refresh_token: SPOTIFY_REFRESH_TOKEN!,
}).toString();

const getAccessToken = async () => {
  const res = await fetch("https://accounts.spotify.com/api/token", {
    method: "POST",
    headers: {
      Authorization: `Basic ${BASIC_TOKEN}`,
      "Content-Type": "application/x-www-form-urlencoded",
    },
    body,
  });

  const data = await res.json();

  return data.access_token;
};
Now you can use this access token to freely reach whatever info you want. What I needed was the currently playing track, recently played tracks, and playlist info, so I created functions for those. I also added helper functions to extract only the information I need.
getRecentlyPlayed
export const getRecentlyPlayed = async (): Promise<
TypeRecentlyPlayedTrack[]
> => {
const access_token = await getAccessToken();

const res = await fetch(
  `https://api.spotify.com/v1/me/player/recently-played`,
  {
    headers: {
      Authorization: `Bearer ${access_token}`,
    },
  },
);

const data = await res.json();
const tracks = data.items.map(extractTrack);

return tracks;
};
getCurrentlyPlaying
export const getCurrentlyPlaying =
async (): Promise<TypeCurrentlyPlayingTrack> => {
  const access_token = await getAccessToken();

  const res = await fetch(
    `https://api.spotify.com/v1/me/player/currently-playing`,
    {
      headers: {
        Authorization: `Bearer ${access_token}`,
      },
      next: {
        revalidate: 60,
      },
    },
  );

  const data = await res.json();

  return extractCurrentlyPlayingTrack(data);

};
getPlaylistTracks
export const getPlaylistTracks = async (
  limit = 20,
  offset = 0,
): Promise<TypeSpotifyPlaylist[]> => {
  const access_token = await getAccessToken();
  const res = await fetch(
    `https://api.spotify.com/v1/me/playlists?fields=items(id,name,images,external_urls.spotify)&limit=${limit}&offset=${offset}`,
    {
      headers: { Authorization: `Bearer ${access_token}` },
    },
  );
  const data = await res.json();
  return data.items;
};
getTopTracks
export const getTopTracks = async (): Promise<TypeTopTrack[]> => {
  const access_token = await getAccessToken();

  const res = await fetch(
    `https://api.spotify.com/v1/me/top/tracks?limit=20&time_range=short_term`,
    {
      headers: { Authorization: `Bearer ${access_token}` },
    },
  );

  const data = await res.json();
  const tracks = data.items.map(extractTopTrack);

  return tracks;
};
getPlaylistTracks
export const getPlaylistTracks = async (
  playlistId: string,
  limit = 10,
  offset = 0,
): Promise<TypeRecentlyPlayedTrack[]> => {
  const access_token = await getAccessToken();

  const res = await fetch(
    `https://api.spotify.com/v1/playlists/${playlistId}/tracks?fields=items(track(name,external_urls.spotify,album(name,images),artists(name)))&limit=${limit}&offset=${offset}`,
    {
      headers: { Authorization: `Bearer ${access_token}` },
    },
  );

  const data = await res.json();

  const tracks = data.items.map(extractTrack);

  return tracks;
};
You can check out the actual implementation in this file.
Applying it to the pages
I created a page for each piece of data and set the route segment config revalidate time per page to apply ISR (Incremental Static Regeneration).
I also used the generateStaticParams function to generate the dynamic route that shows each individual playlist's info at build time.
I came up with my own revalidation times:
| Route | Revalidate |
|---|---|
| /music | 3m |
| /music/playlists | 1d |
| /music/playlists/[id] | 1d |
| /music/top-tracks | 1d |
Except for the /music page, which needs the recently played track info, I set the revalidation time to one day.
Adding blurDataURL
For images imported statically from the public folder, Next handles all the optimization on its own, and if you pass the placeholder="blur" prop, it automatically
generates a placeholder. But images from Spotify are external data that Next can't access at build time, so you need to generate blurDataURL manually with a function like this:
export const getBlurDataUrl = async (url: string) => {
  const res = await fetch(url, {
    cache: "force-cache",
  });
  const buffer = await res.arrayBuffer();
  return `data:image/png;base64,${Buffer.from(buffer).toString("base64")}`;
};
With this function, you get a blur effect while the image loads, plus a performance boost through caching.
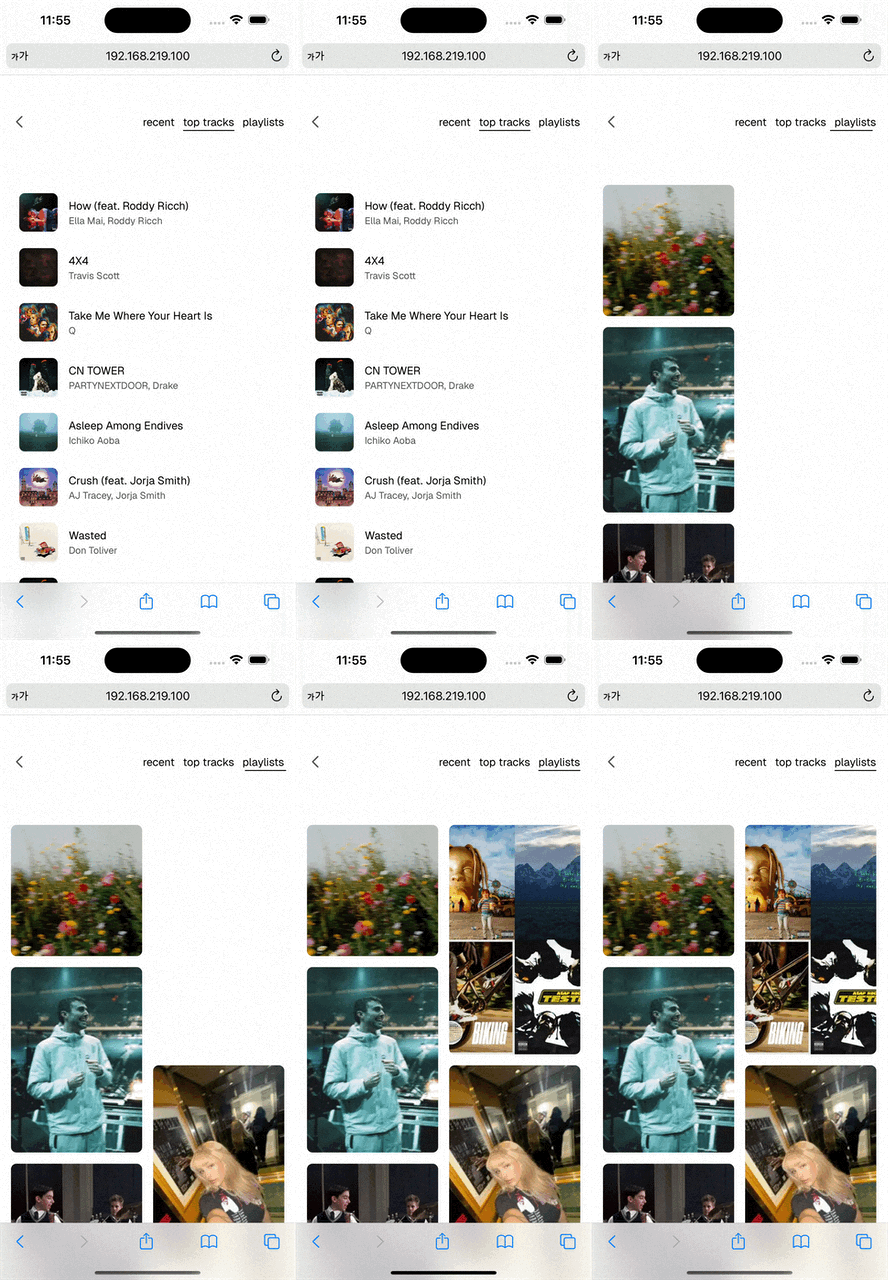 Without placeholder
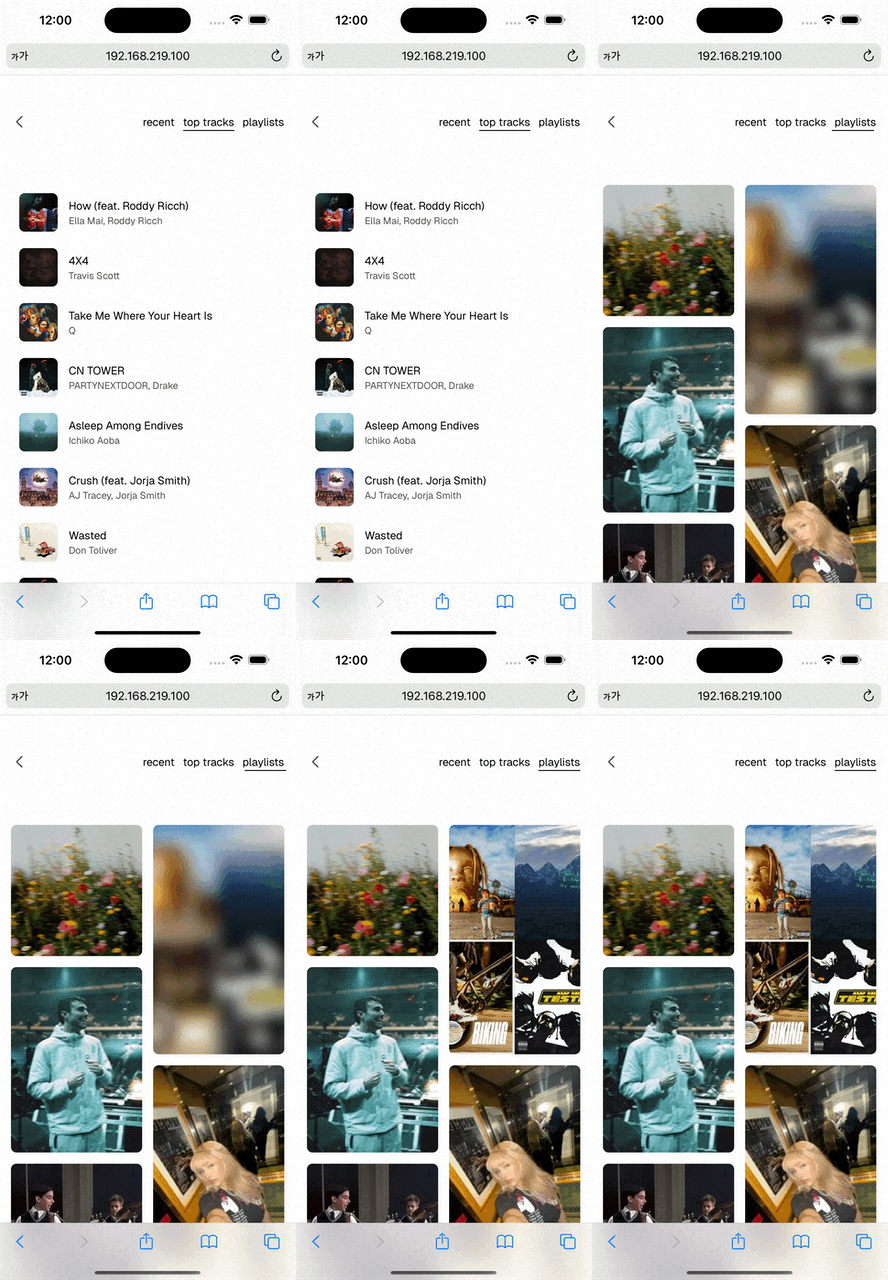 With placeholder
Can you see the difference? Adding a placeholder improves the UX. I also added a little flair to bring the UI to life. 💃
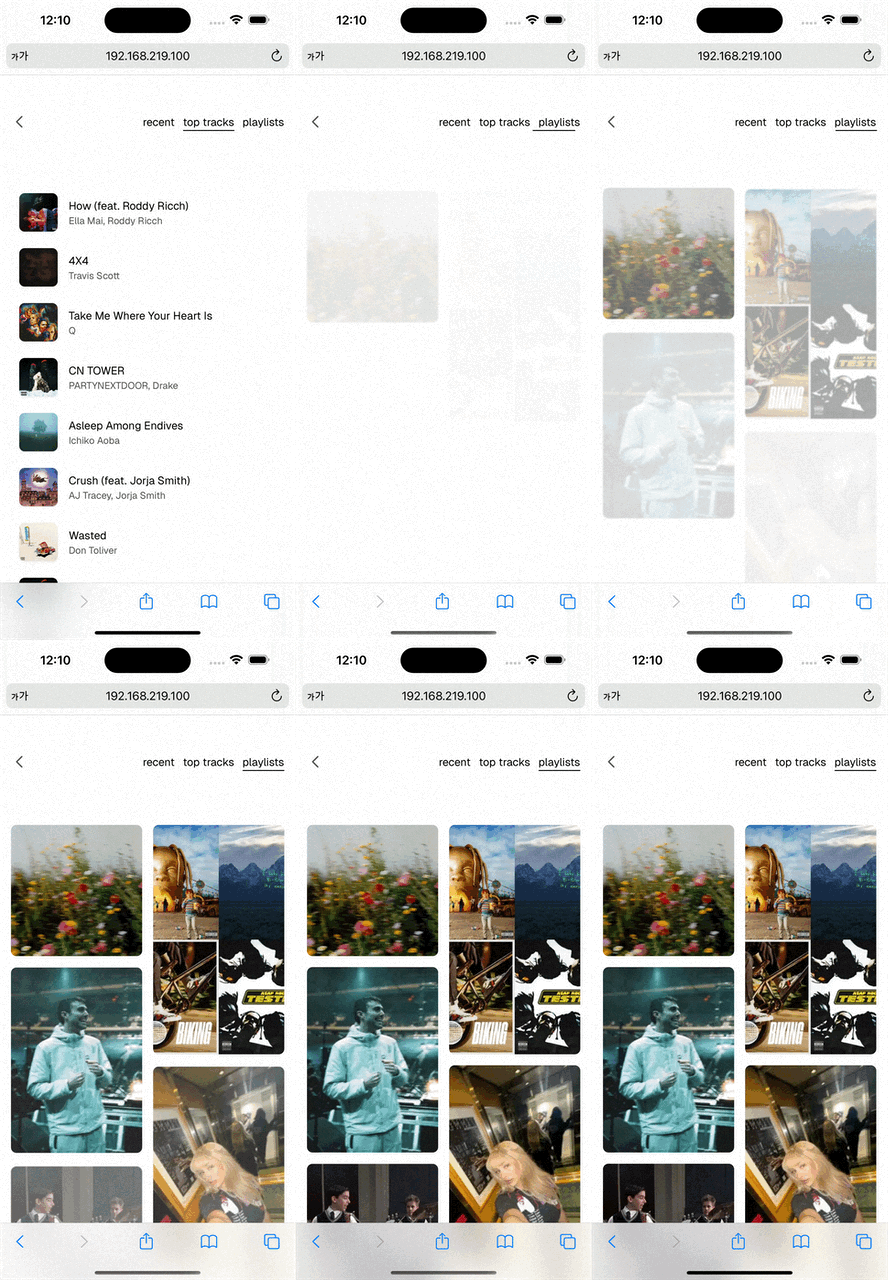
Now all that's left is to use this logic to draw out the UI for the other pages beautifully. 🏁
Problems I ran into
While implementing this, I misunderstood a few concepts and hit some problems.
1. The difference between dev and production environments
In Next 15, the default behavior of the fetch function is designed to fetch data from the server on every request (auto no cache).
But for HMR, which exists for DX, another caching layer called serverComponentsHmrCache was introduced.
This cache applies to every fetch request, even ones with the cache: 'no-store' option.
So by default new data should be fetched on every request, but because of the HMR cache, old data was reused even after I changed code (e.g. editing a component).
serverComponentsHmrCacheis reset when the page is refreshed or navigated away from.
No matter what cache options I added, I sweated quite a bit trying to figure out why I wasn't getting fresh data.
The gist: in the dev environment every request is made fresh, but under HMR things get cached.
2. Implementing server-side code with a client-side mental model
You need an access token to make requests to Spotify's API endpoints. Early in the implementation, I wrote the function so that it requested a token on every request without any caching and injected it into the header. As a result, the caching behaved differently from what I expected.
Thinking about it now, the reason is obvious. Since the auth token differs per request, the request headers differ every time too. That meant the cache key was newly generated each time, and I hadn't accounted for how HTTP caching normally works.
While writing the code, I assumed that the token would naturally be stored in some external storage. In other words, my mental model was client-side authentication: once issued, you save the token in web storage and reuse it until it expires.
That's why caching wasn't happening even after I added the cache: "force-cache" and revalidate: number options.

To fix this, I decided to try implementing a simple in-memory cache. Here's how it works:
- Create a
Mapto store the token info. - When a token is requested, check the cache first.
- If a cached token exists, return it as is.
- If it's not valid, request a new token and store it in the cache. (first request, token expiry)
const BASIC_TOKEN = Buffer.from(
SPOTIFY_CLIENT_ID + ":" + SPOTIFY_CLIENT_SECRET,
).toString("base64");

const tokenCache = new Map<string, TokenCache>();

export const getAccessToken = async () => {
const cachedToken = tokenCache.get(SPOTIFY_REFRESH_TOKEN!);

if (cachedToken && cachedToken.expiresAt > Date.now()) {
  return cachedToken.accessToken;
}

const res = await fetch("https://accounts.spotify.com/api/token", {
  method: "POST",
  headers: {
    Authorization: `Basic ${BASIC_TOKEN}`,
    "Content-Type": "application/x-www-form-urlencoded",
  },
  body,
});

const data = await res.json();

tokenCache.set(SPOTIFY_REFRESH_TOKEN!, {
  accessToken: data.access_token,
  expiresAt: Date.now() + data.expires_in * 1000,
});

return data.access_token;
};
Once I managed the token in an in-memory cache with this code, I finally got to see a cache hit.

I thought the problem was completely solved at this point... 😵💫
3. The difference between traditional server-side rendering (SSR), static site generation (SSG), and incremental static regeneration (ISR)
-
SSR
With traditional SSR (cache opt-out, or when using Dynamic APIs), a new page is generated for every client request. This approach has the advantage of always showing the latest data, but the downsides are that it consumes a lot of server resources and introduces page loading time. What was happening above, with no caching and a request to the server every time, is what you'd call traditional SSR.
-
SSG
SSG, as the name suggests, generates static pages ahead of time at build time and serves them when requested. Since every page is pre-generated at build time, page loads are very fast, and there's no load on the server. The downsides are that handling dynamic content is hard, and so is serving personalized content.
-
ISR
ISR keeps the benefits of static generation while still validating and regenerating pages. It generates pages ahead of time at build time while setting a revalidation time. (Of course, the
On-demandapproach is also possible.) Until the set time passes, the generated page is shown, and once it has passed, the page is regenerated in the background and the new page is shown. You keep the fast speed of SSG while updating the data periodically. The downside is that the data may not be fully real-time. (The first request after the revalidation time elapses is served the cached page, and only requests after that see the new page.)
My blog was using SSG, and for the Spotify-related pages I used revalidation times to implement ISR. So what exactly did I misunderstand?
That's right... I wrongly assumed that with ISR, data is fetched fresh on every user request. 🥺 In reality, with ISR the data request happens once when the static page is generated at build time, and then once more in the background on the first user request after the set revalidation time has elapsed. Here's roughly how ISR works:
- At build time: static pages are generated when the app is built, and data is requested
- First request after the revalidation time elapses: the user is served the previously cached page, while the page starts regenerating in the background with new data
- After regeneration completes: every user after that sees the newly generated page
- When the revalidation time elapses again, the process above repeats
So the in-memory caching I wrote above was actually code based on a misunderstanding of how ISR works. And the cache being skipped every time was just a quirk of the dev environment.
Wrapping up
I had so much fun coding this, adding Spotify to give my rather dull blog a bit of life. With animations, too. It also gave me time to think harder about some fuzzy concepts, asking "why" along the way.
From the problems I ran into, I really felt that "oh, I still don't have a firm grasp on SSR architecture and Next concepts." Maybe Next is the one to blame?! Adding this feature made me understand how each rendering method and cache works much more clearly. I was also surprised to realize that I'm living in the SSR world but my heart is still stuck in CSR.
Once again, I felt that learning by actually building things suits me best. I came to understand Next's rendering methods and caching in more depth. In particular, once I understood how ISR works, I was able to remove the unnecessary in-memory caching logic and make better use of Next's built-in features. I'm also now clearly aware of the differences between dev and production environments, so the question of "why does the cache seem not to work in dev?" has been cleared up too.
Going forward, I think I should approach new features with Next's core philosophy and rendering methods in mind.
Through this experience, I got a valuable chance to narrow the gap between theoretical knowledge and actual implementation.